Instructions for Posting Messages
The Portal Messaging center for the Faculty/Staff Portal allows you to quickly and easily present announcements to a wide variety of campus users. The Portal Messaging Center also serves as a public archive for all messages that have been submitted. The Portal Messaging Center is an effective means to broadly communicate your important announcements.
Getting to the Portal Messaging Center
1. Navigate to the Portal Messaging Center - https://pmc.humboldt.edu - and click Log In on the top menu.
2. Click the Log In button
Submitting a Standard Announcement
1. In the top menu, choose Submit an Announcement.

2. You will be presented with the Create Portal Content screen.
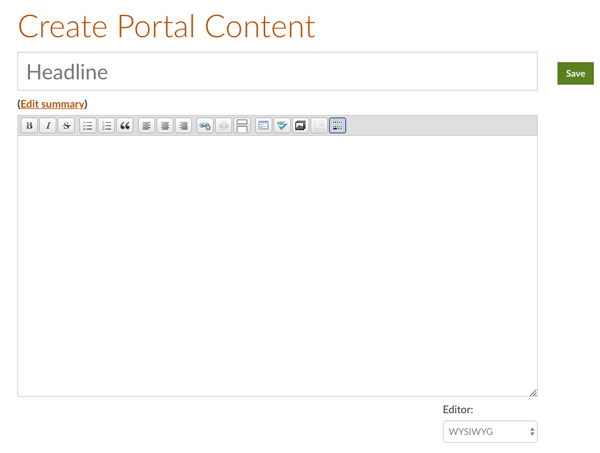
3. Under Headline, enter a title for your announcement.

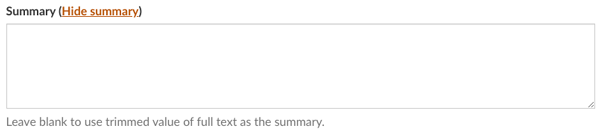
4. Add a summary if desired.
Note: The summary text appears in the pagelet. If you do not add a summary, the first few lines of the Body will serve as the summary. Adding a summary allows you to customize the pagelet message so that it is complete and succinct.
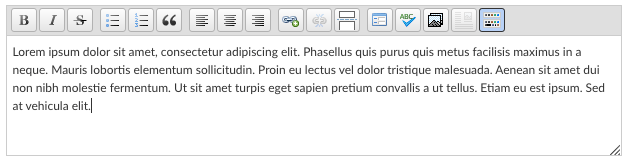
5. Add the text you would like to appear in the body of the message.
Note: To view the body of the message, the user must select the link in the pagelet.
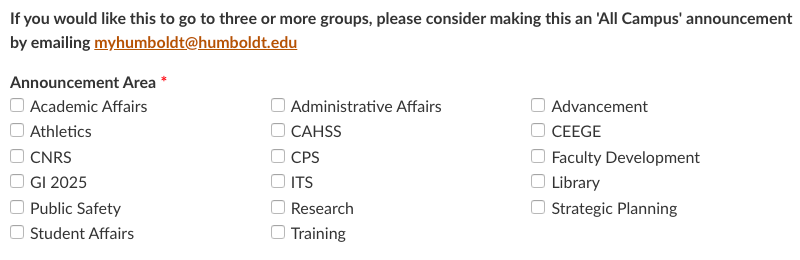
6. Check the box beside the pagelets that you would like the announcement to appear within. If you click three or more areas to post, you’ll be prompted to send to “All Campus”. You don’t HAVE to, but stop and think if that’s the best place for your message if it’s going to three or more areas.
Note: You will typically select your pagelet. Optionally, select other applicable pagelets to request that the announcement be added to that pagelet. Approval will be required before the message is posted in the other pagelets.
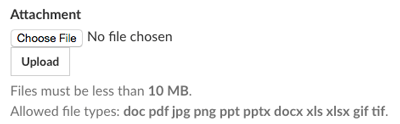
7. Upload an attachment if desired. Note: The link to this attachment will appear at the end of the message body.
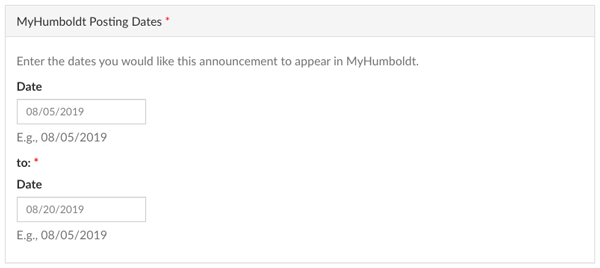
8. Enter the dates you would like the message to be visible.
Note: This feature is helpful if you would like the message to appear at a future date or to automatically be removed after an event has passed. To continue to address “old” posts in the list, we are changing the default expiration date to two weeks from the post-date. You can change this as needed. We encourage you to think through when a post should disappear from myHumboldt. Setting the expiration date to be the day after the event/deadline helps keep things tidy.
9. Press the save button to save the message. Note: Once saved, approved messages will appear on the portal.

Submitting an All-Campus Announcement
All-campus announcements are messages that go to employees only, and must be submitted to the All Campus Content Coordinator in MarCom
Only your division or unit’s Content Coordinator can submit requests for all-campus announcements to the All Campus Content Coordinator.
Note that MarCom does not "approve" all-campus announcements, but instead provides feedback and advice, while ensuring there aren't too many all-campus announcements being posted at once.
- Do not post the announcement as a message in your own division or unit pagelet
- Email the message to your division or unit’s Content Coordinator
- The division or unit’s Content Coordinator will review the message for timing and clarity and provide any feedback and suggestions.
- After considering the feedback, the division or unit’s Content Coordinator will provide a final version of the message to the All Campus Content Coordinator.
- The All Campus Content Coordinator will post the message to the all-campus pagelet.
Approving Anouncements from Others
Other users can request that an announcement appear in your pagelet. If you have the Publisher role, you can approve these messages. Once the messages are approved, they will appear within your pagelet on the Portal.
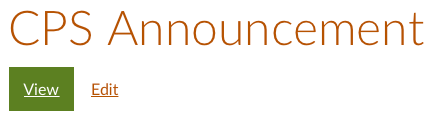
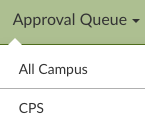
1. Locate your queue from the Approval Queue drop-down menu at the top of the page (in this case, College of Professional Studies.)
2. You will see a list of announcements pending approval. Select the announcement by clicking the announcement title.
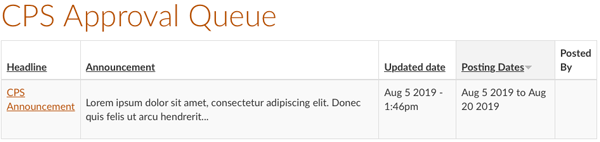
3. Place a checkmark next to your pagelet to approve the message and then select save.

Frequently Asked Questions
When you select to approve an announcement request in your queue, you will be in the View screen for that announcement. Choosing the Edit button allows you to edit the announcement. Note that this modifies the message on every pagelet with that announcement. Thus, it should only be used if you are the owner of the announcement.